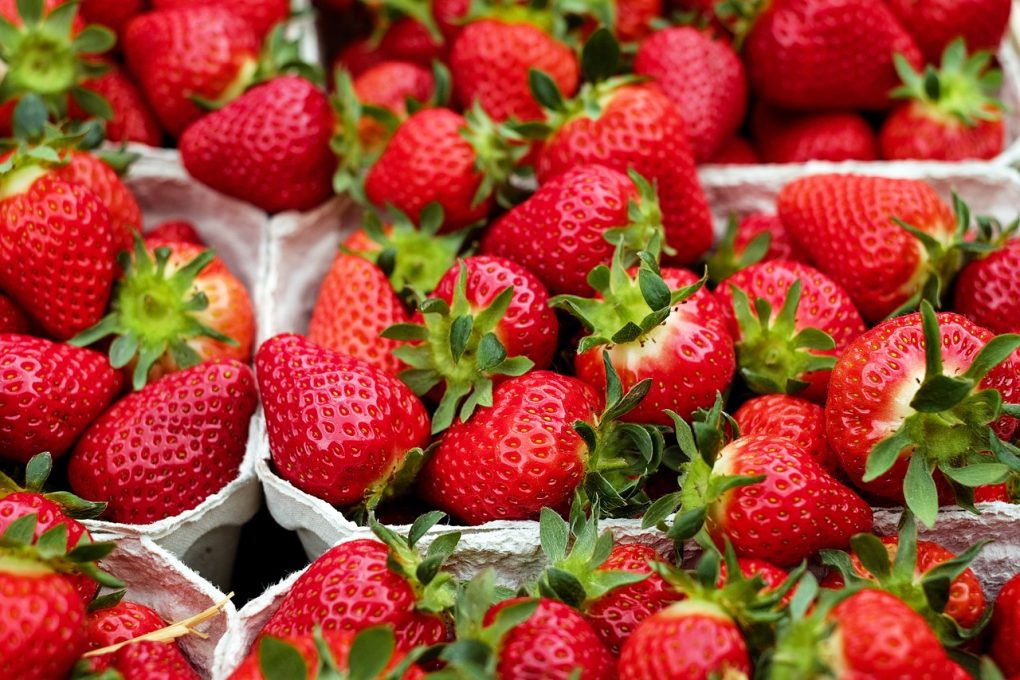
It’s no secret that strawberries are a favorite in many households. From smoothies to pies, it’s hard to find a dish that isn’t improved by the addition of this antioxidant-rich fruit. Unfortunately, strawberries don’t have a long shelf life, so if you’ve got a surplus of strawberries, you may be wondering if you can freeze them for later use. In this guide, we’ll explore the answer to this question and provide tips for freezing strawberries that will ensure they stay fresh and tasty until you’re ready to use them.
Know About Freezing Strawberries
Freezing strawberries is a great way to preserve them and save them for later. Before you start freezing your berries, however, there are a few things you should know.
First, strawberries are a low-acid fruit, meaning they don’t have the same high acid content as other fruits like lemons or oranges. This means that when strawberries are frozen, the texture of the fruit can be affected; it can become mushy or watery. To avoid this, you’ll need to take a few extra steps when freezing strawberries.
Second, because strawberries are a low-acid fruit, they are particularly susceptible to bacteria growth. To ensure your strawberries remain safe to eat, it’s important to freeze them as quickly as possible.
Finally, strawberries are delicate fruits that are easily damaged, so you’ll need to be careful when handling them.
How to Freeze Strawberries
Now that you know the basics of freezing strawberries, let’s look at how to do it. The process is simple, but there are a few key steps you’ll need to take in order to ensure your strawberries stay fresh and tasty.
Step 1: Wash and Dry Your Strawberries
The first step in freezing strawberries is to wash and dry them. Start by rinsing them with cold water to remove dirt and debris. Then, dry them with a paper towel or clean dish towel.
Step 2: Slice or Hull Your Strawberries
Once your strawberries are clean and dry, you’ll need to decide whether you want to slice them or hull them. Slicing your strawberries is best if you plan to use them for smoothies or other recipes that require the strawberries to be cut up. Hulling them is best if you plan to use them for baking or other recipes that require the strawberries to be left whole.
Step 3: Prep the Strawberries for Freezing
Once your strawberries are sliced or hulled, it’s time to prep them for freezing. To do this, spread the strawberries out on a parchment-lined baking sheet. This will help the strawberries freeze individually, instead of sticking together in a clump.
Step 4: Freeze the Strawberries
Once your strawberries are prepped, it’s time to freeze them. Place the baking sheet in the freezer and let the strawberries freeze for at least two hours. Once they are frozen, you can transfer them to an airtight container or freezer bag for longer storage.
Step 5: Label and Date Your Strawberries
The final step in freezing strawberries is to label and date them. This will help you keep track of when you froze them and how long they’ve been in the freezer.
Tips for Freezing Strawberries
Now that you know the basics of freezing strawberries, here are a few tips to keep in mind:
- Use ripe, fresh strawberries for best results.
- If you’re slicing your strawberries, slice them into small pieces for faster freezing.
- Spread the strawberries out in a single layer on the baking sheet to ensure they freeze individually.
- Be sure to label and date your strawberries before freezing.
- Use frozen strawberries within six months for best results.
Conclusion
Freezing strawberries is a great way to extend their shelf life and make sure you have them on hand when you need them. By following the steps above and keeping in mind a few tips, you can ensure your strawberries stay fresh and tasty until you’re ready to use them. So go ahead and freeze your strawberries and enjoy them all year round!
